In July, I started to plan for an upcoming visit to WA. My mom would be in WA, visiting from ND, and we have a couple of days planned to devote to sewing projects. We decided we both wanted to learn how to make bags, so we put this on the agenda. A couple of days later, I was looking through the class list at Cotton and Chocolate, a quilt shop in Thousand Oaks, where we used to live. I noticed that they were offering a class on a 3-zippered pouch called the “Sew Together” bag. The sample bag had lighthouses on it! Since I was married at a lighthouse, I felt like it was “fate” to take the class even though the shop is 100 miles from where I live now. But, I signed up and managed to coordinate my visit with working in Moorpark and visiting some friends.
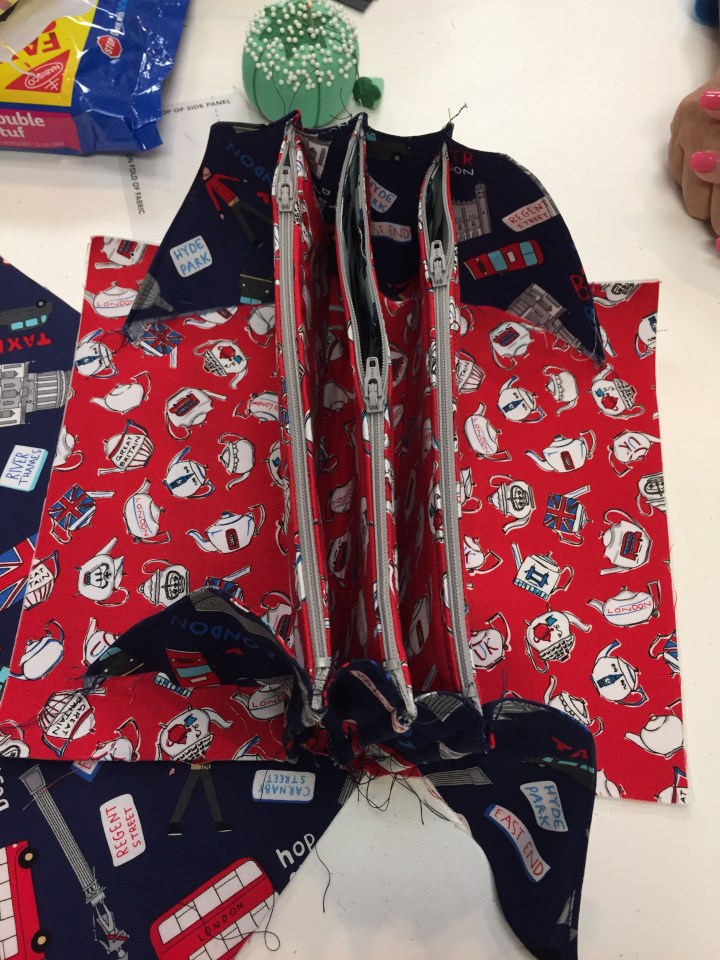
I was pretty nervous the day of the class. After 4 hours of the 6-hour class, it was becoming apparent that I wasn’t going to finish. I began to rush because I knew if I didn’t finish in class, I was very unlikely to finish it on my own. Although we had a pattern, it was hard to follow without someone showing me what to do. The instructor ended up staying an hour late to help us finish, and I got 80% of the bag done. When I got home, I searched the net and found an awesome step-by-step tutorial on how to make this bag. I was just finding out just how popular this bag is! Thanks to the tutorial and some videos I had taken in class, I was able to finish the bag, but realized I had made some serious errors that affected the functionality of the bag. I blamed it on rushing through the class and decided I would give it another go.
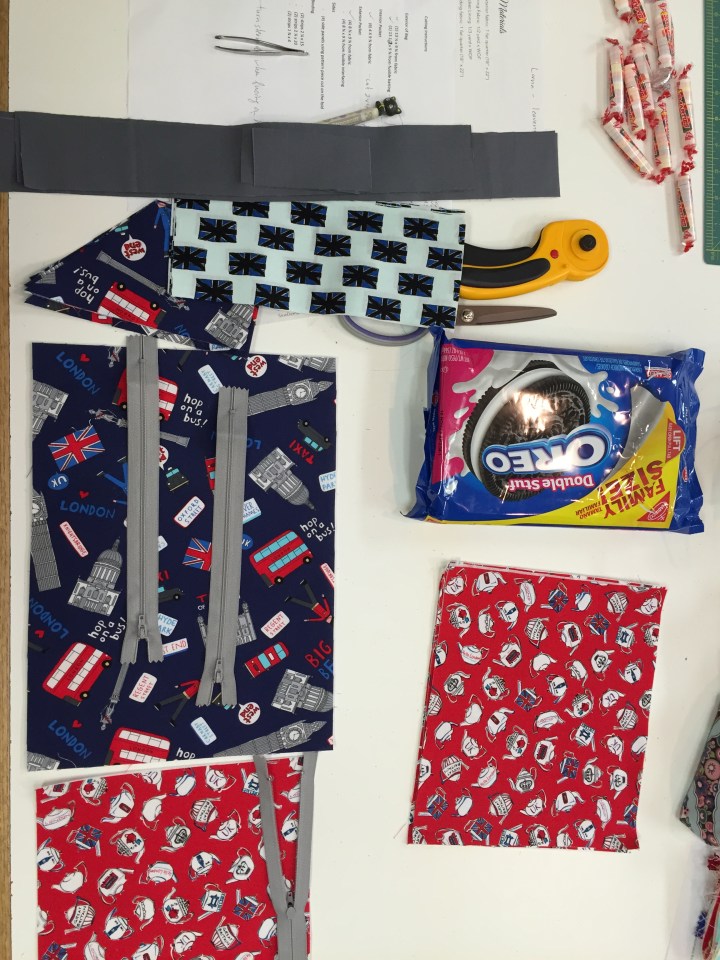
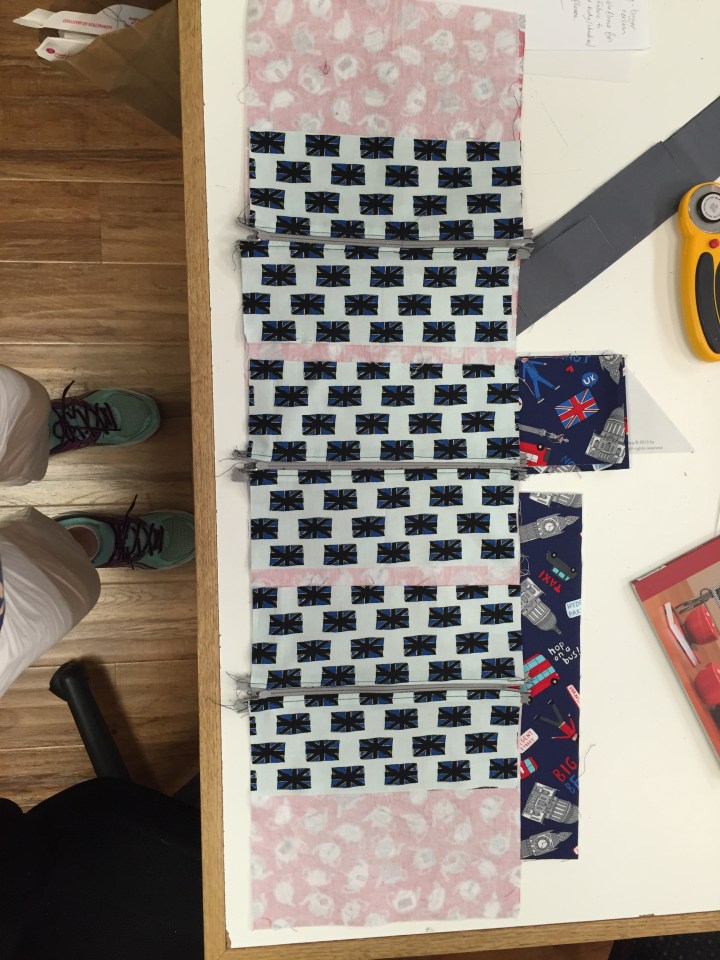
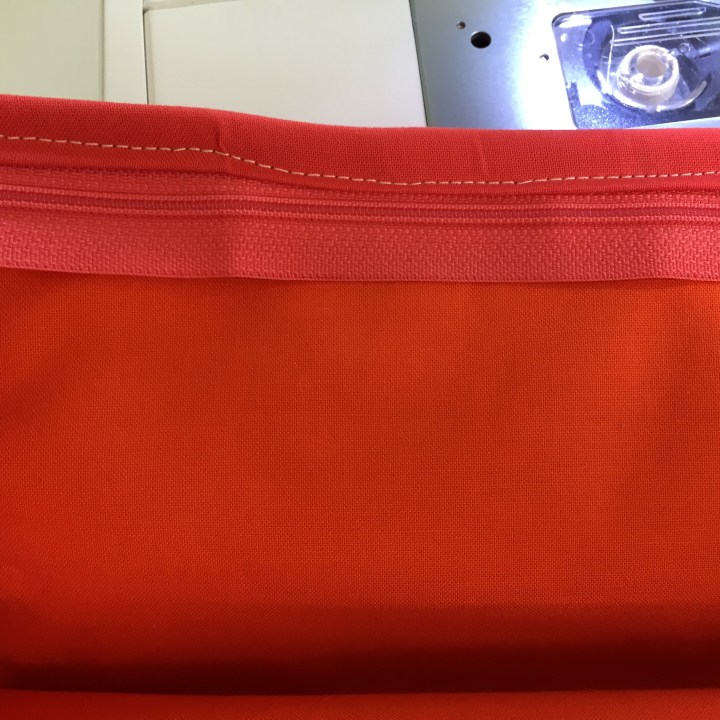
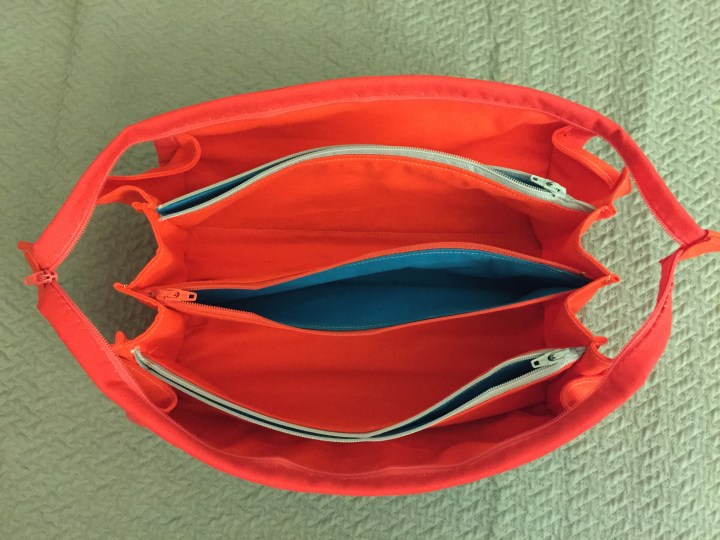
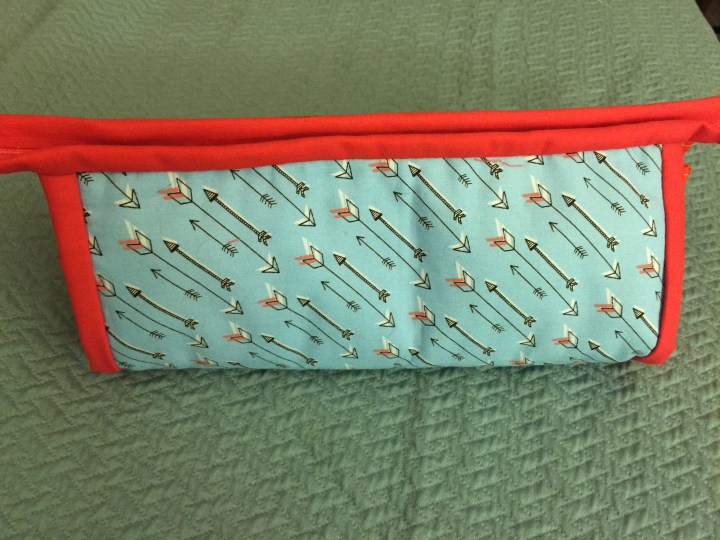
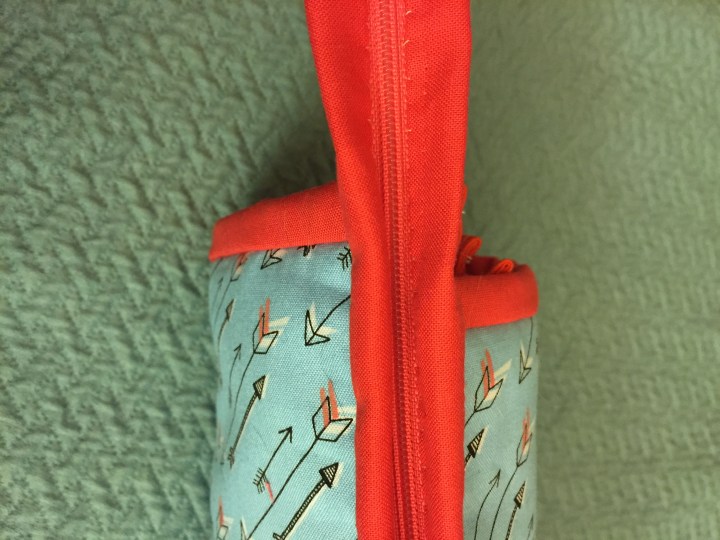
I decided once again to use fabrics that I already have in case I wasn’t in love with the finished product. I chose a leftover fat quarter from my Desk Job prizepack and some Kona solids. I spent an entire weekend making this 2nd bag! Despite taking my time, I ended up making a major error. For some reason, I decided to trim the outer panel. This affected the size of the bag, it’s smaller than it’s supposed to be and fitting all my sewing items in it is a tight squeeze. I also have a devil of a time getting my top stitching to look neat. It’s difficult because you’ve got 3 pieces to hold together when sewing the top stitching: the binding, the zipper and the bag itself. Despite the fact that I went incredibly slow, it was still crooked. I decided to give up on machine stitching the binding and hand-sewed it instead. Although I was much happier with the finished project, I knew that the 3rd time would be the “charm” and could see myself trying it a 3rd time. Besides, it’s so much fun to be able to complete something in a weekend! Maybe next time it would only take me a day…
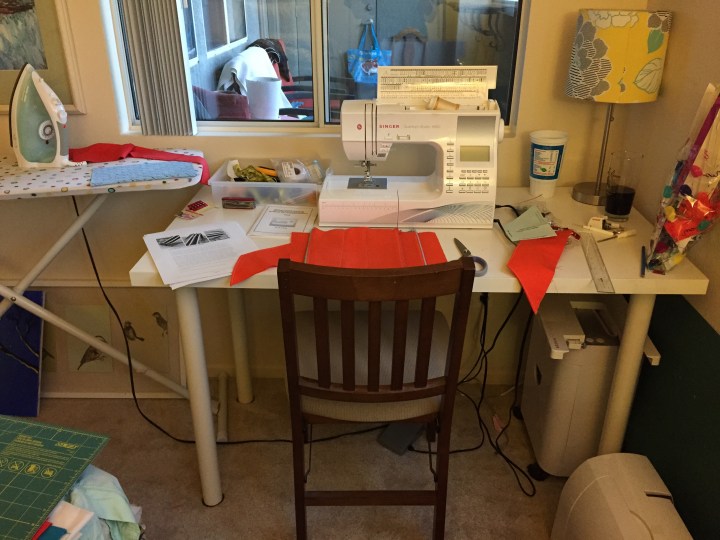
I also decided after our recent move into a different apartment in the same complex, that I was desperate to rearrange my sewing space. This tiny corner in the bedroom is just not working, despite how nice it is to be by a window.